 The front of the costume was the hardest part because it required the embedded roman numerals. This sort of thing has always been a difficult problem. There are a few ways to accomplish embedded parts on fabric. One way is to just cut out a shape and sew it on top of the other fabric. This requires that the edges not fray and be cut very precisely.
Another way to do it is to cut out the shape in the fabric then attach the other fabric to the back of the fabric with the hole in it. This is ok, but the edges will flop around for most cut out shapes.
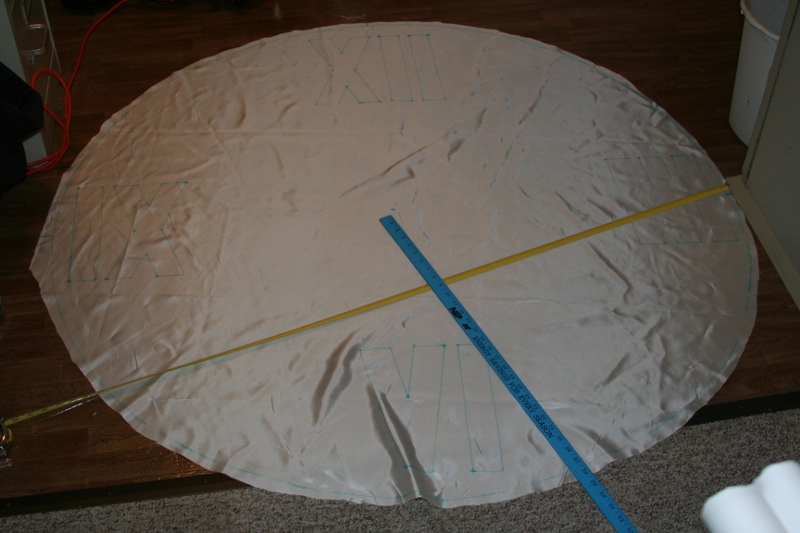
The way I finally did it was to set my sewing machine to a thick zig-zag then sew along the outline of the letters on the fabric so that it attaches to black material beneath it. Then I used a scissors and cut the white material off right along the sewn edge.
This was a bit tricky and in some places I cut too far and had to resew it. But overall it looks pretty decent.
The front of the costume was the hardest part because it required the embedded roman numerals. This sort of thing has always been a difficult problem. There are a few ways to accomplish embedded parts on fabric. One way is to just cut out a shape and sew it on top of the other fabric. This requires that the edges not fray and be cut very precisely.
Another way to do it is to cut out the shape in the fabric then attach the other fabric to the back of the fabric with the hole in it. This is ok, but the edges will flop around for most cut out shapes.
The way I finally did it was to set my sewing machine to a thick zig-zag then sew along the outline of the letters on the fabric so that it attaches to black material beneath it. Then I used a scissors and cut the white material off right along the sewn edge.
This was a bit tricky and in some places I cut too far and had to resew it. But overall it looks pretty decent.
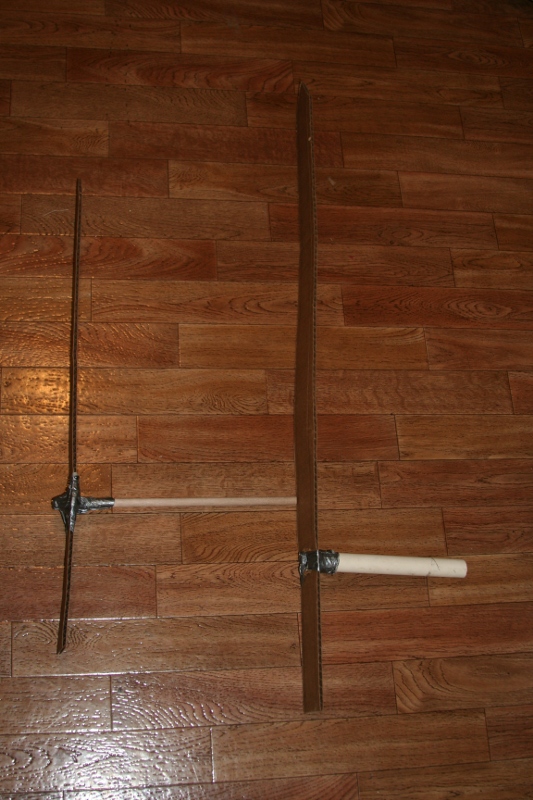 Initially I wasn't sure if I would have working clock hands. I thought about just sewing some clock hands on the front, but I really wanted them to move. I came up with this scheme. I cut out some cardboard for the hands then attached one to a pvc pipe and another to a wooden dowel. This works great! I just stick the dowel through the hollow pvc pipe and I can turn the hands independently.
I can operate the hands from inside the costume. I did this by drilling a hole in a 4-way cross pvc joint.
Initially I wasn't sure if I would have working clock hands. I thought about just sewing some clock hands on the front, but I really wanted them to move. I came up with this scheme. I cut out some cardboard for the hands then attached one to a pvc pipe and another to a wooden dowel. This works great! I just stick the dowel through the hollow pvc pipe and I can turn the hands independently.
I can operate the hands from inside the costume. I did this by drilling a hole in a 4-way cross pvc joint.
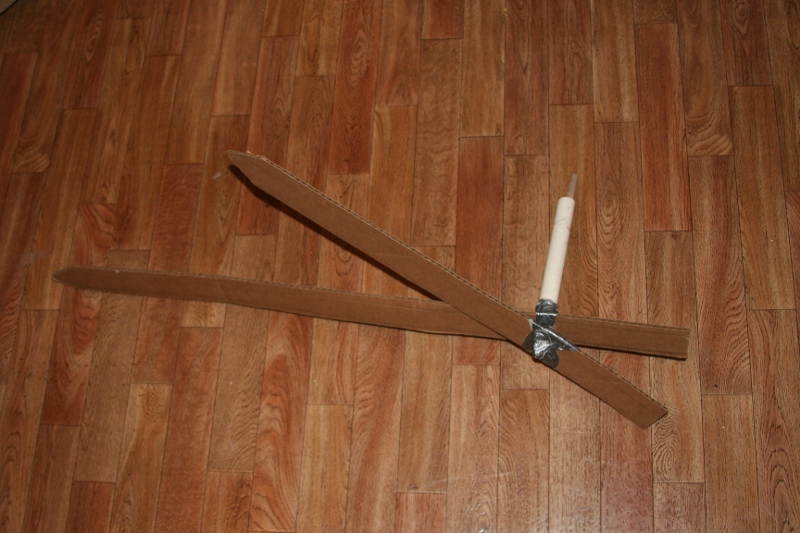 Here the hands are joined together.
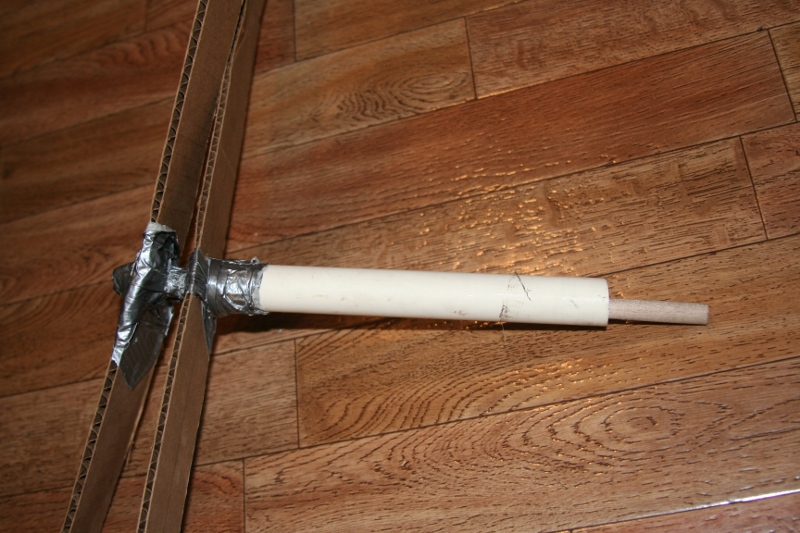 Now you can see a close up view of the hands together. The nice thing here is that if you pull the rod backward it sticks in place by friction. So the hands can be made to stay at a particular time.
Sadly, this stopped working as I walked around. In retrospect I wish I had added velcro which I could use to fasten the hands to the frame of the costume.
Now you can see a close up view of the hands together. The nice thing here is that if you pull the rod backward it sticks in place by friction. So the hands can be made to stay at a particular time.
Sadly, this stopped working as I walked around. In retrospect I wish I had added velcro which I could use to fasten the hands to the frame of the costume.
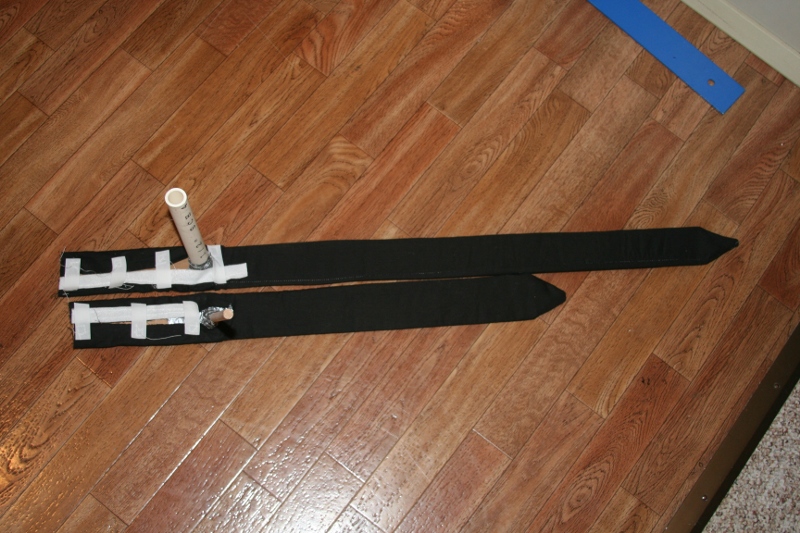 Of course, it wouldn't look good to just have cardboard hands. So, I made a slip cover out of black fabric which is fastened in place at the end using velcro. I did that so that I could take the cover on and off if I needed to modify it in some way.
 Here is a closeup view of the velcro. The velcro isn't pretty, but you can't see it when the hands are in place on the costume.
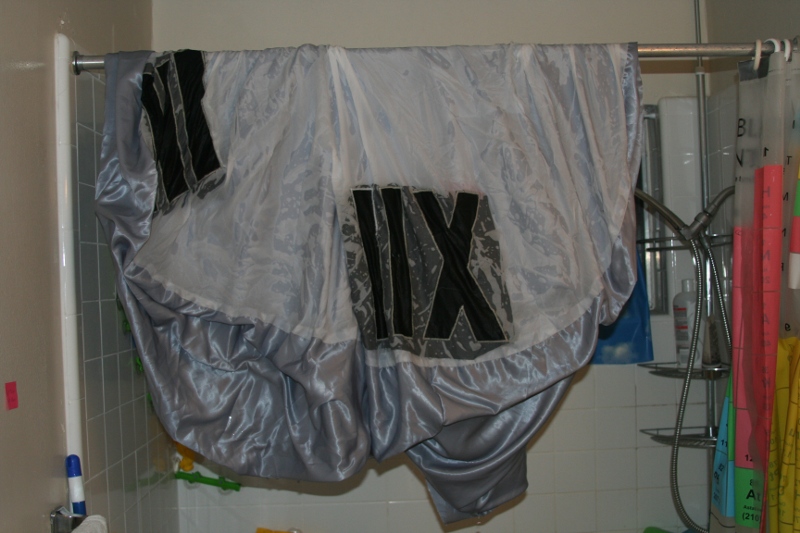 If you take a look at the earlier picture of the clock face you'll notice that it is covered in blue lines. That blue is a special water soluble fabric marker. After assembling everything I soaked the costume in water to get rid of all the blue. After it dried it was all wrinkly, so I ended up having to iron it a bit before putting it onto the frame.
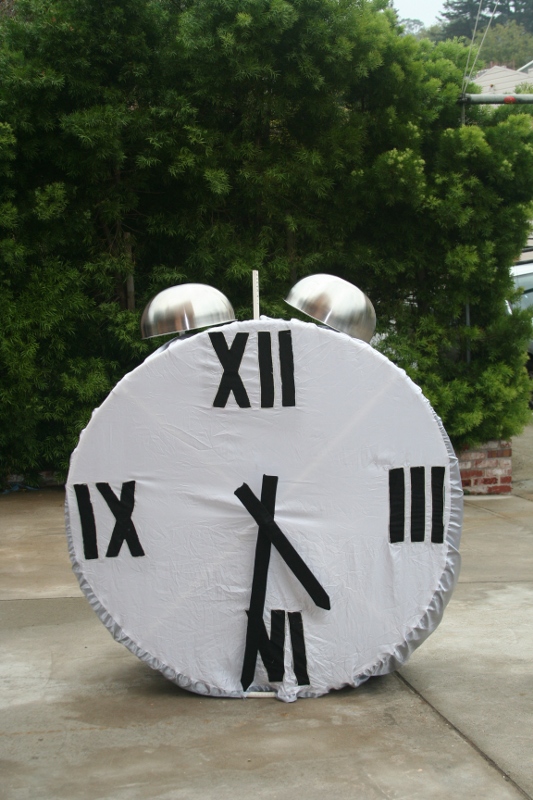
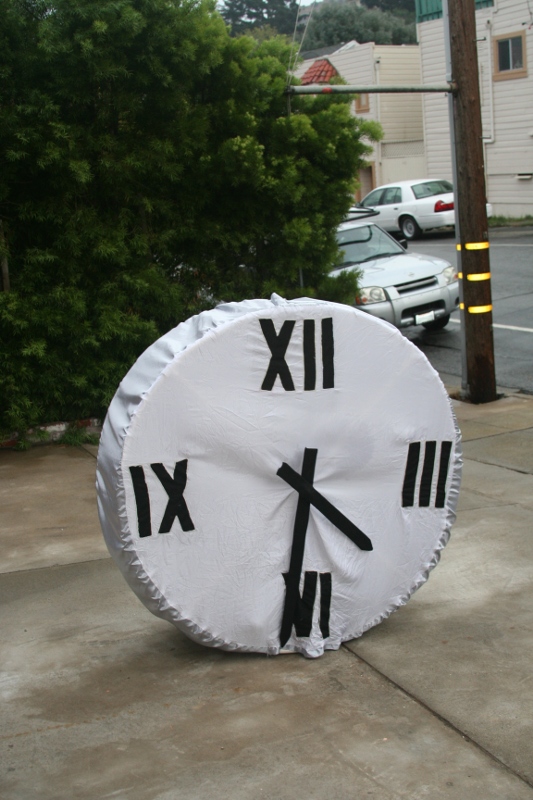 Almost done! The costume is assembled except for the bells.
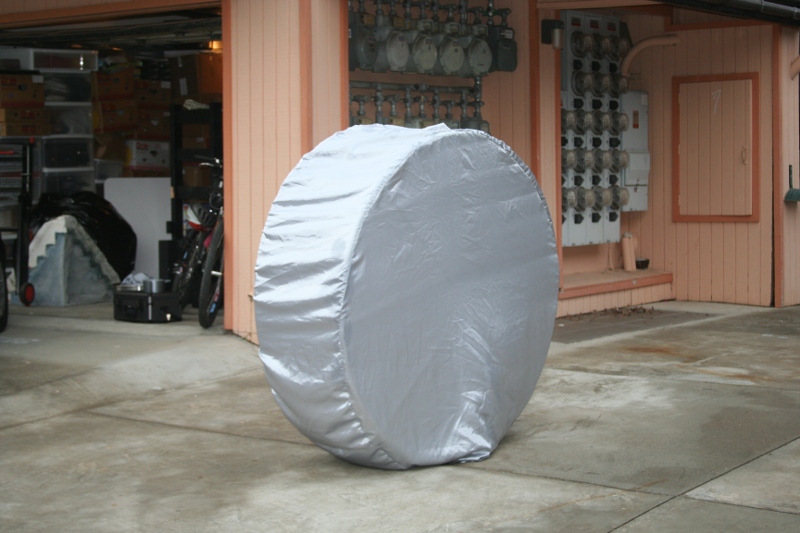 The back is all silver. This silver fabric arrived in the mail just 3 days before Halloween which meant I needed to rush a bit to get it all done.
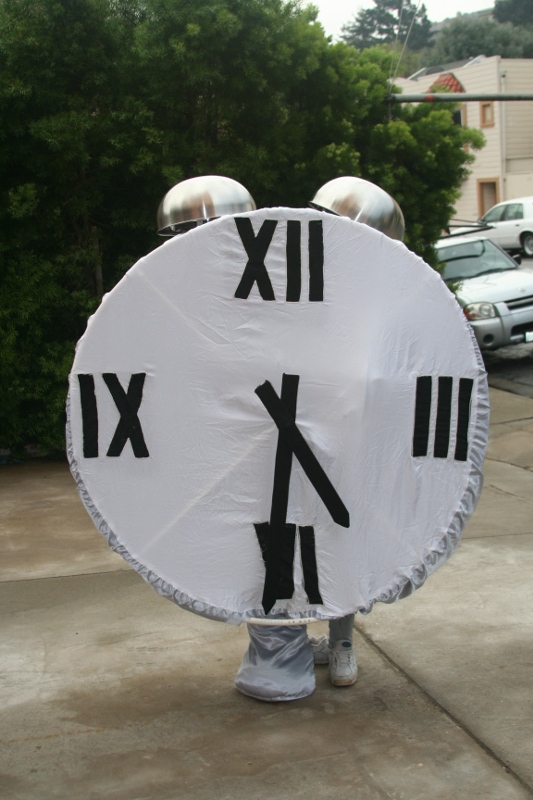
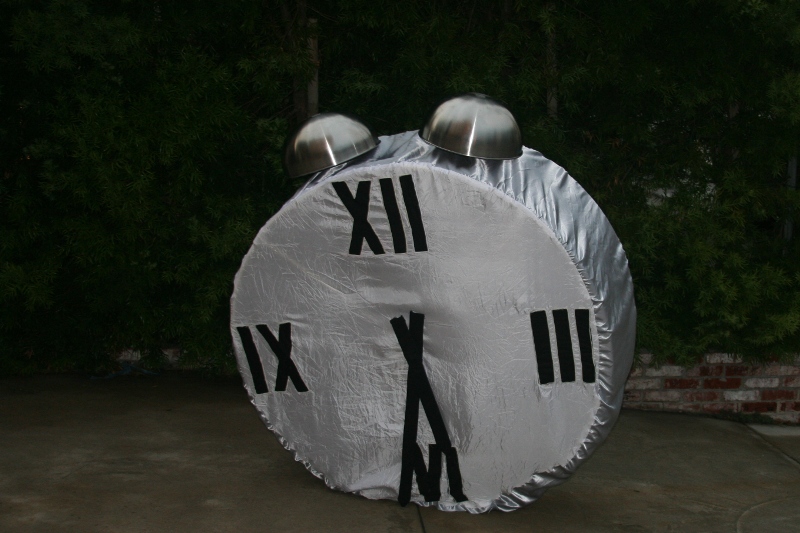
 The bells are in place! Sadly, I never was able to get the bells to hang at exactly the right angles. I also wanted the bells to be bigger, but I couldn't find any silver bowls larger than the 14 inch bowls that I used.
Notice the blurred stick in between the bells. It's the bell ringer. Emily is swinging it back and forth to ring the bells.
The bells are in place! Sadly, I never was able to get the bells to hang at exactly the right angles. I also wanted the bells to be bigger, but I couldn't find any silver bowls larger than the 14 inch bowls that I used.
Notice the blurred stick in between the bells. It's the bell ringer. Emily is swinging it back and forth to ring the bells.
 Another view of the costume with bells.
 One leg done! The other leg is Emily's.
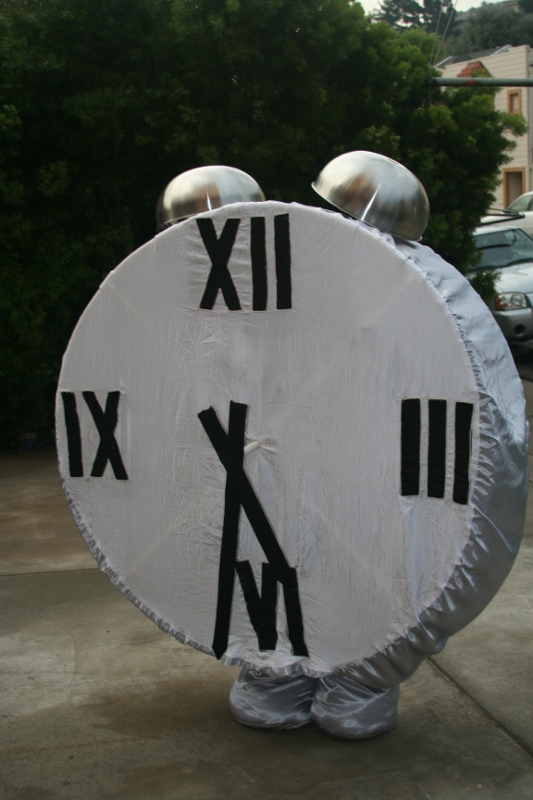 Both legs done! I personally think the legs make the costume look very cute. They sort of look like the legs of an extra shiny elephant.
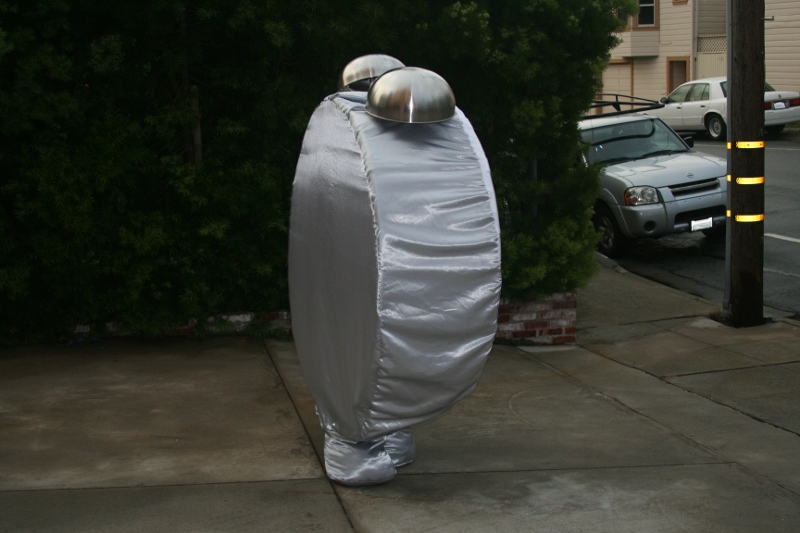 Side view of the completed costume.
 Emily was getting really tired and allowed the costume to sag while she rested a bit. She really needs to work out more.
 The legs are spread wider so that it looks more like a normal alarm clock, but it's tilted forward a bit because Emily is still having trouble holding it up.
 One more picture from the front.
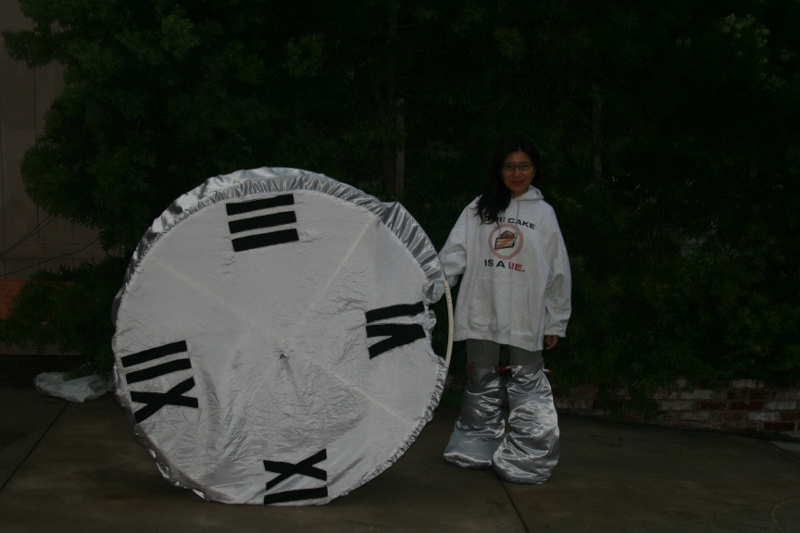 Here cute Emily is standing next to the cute costume. Notice how the legs are attached to her pants using clips. Later I found out this wasn't good enough. I wish I had used suspenders instead.
Nevertheless, the legs were actually pretty comfortable. They are stuffed with padding, so I walked up and down the street and my feet were fine afterwards.
Here cute Emily is standing next to the cute costume. Notice how the legs are attached to her pants using clips. Later I found out this wasn't good enough. I wish I had used suspenders instead.
Nevertheless, the legs were actually pretty comfortable. They are stuffed with padding, so I walked up and down the street and my feet were fine afterwards.
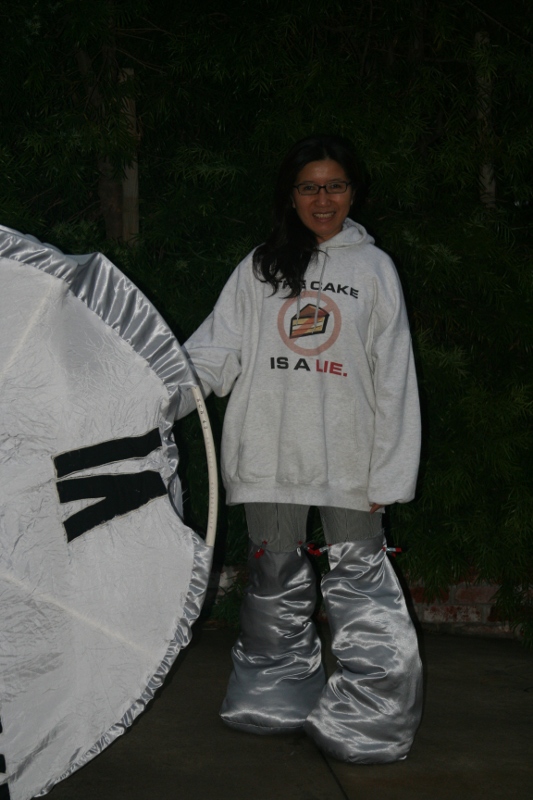 Here cute Emily is smiling better.
So, now the costume was all set and ready to go for Halloween!
Here cute Emily is smiling better.
So, now the costume was all set and ready to go for Halloween!
Continue to the wearing of the clock
Back to the main Alarm Clock page
Version 6.1 last modified by Geoff Fortytwo on 02/11/2008 at 18:05
Document data
Attachments:
No attachments for this document