Remember the game Frogger? Here's an image to jog your memory:
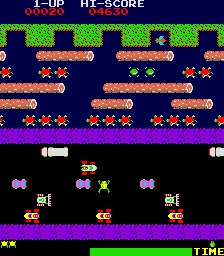 In Frogger, you control the frog and try to move it across 5 lanes of road traffic and then 5 lanes of water traffic. Sadly, your frog will die again and again. Sometimes you will be run over by cars and other times you will drown in the water or be eaten by alligators.
Well, I said that enough was enough. I decided to build a bridge over all that stuff so that frogs could cross from one side to the other without fear.
May 16, 2004
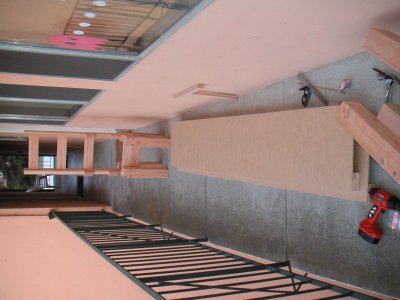
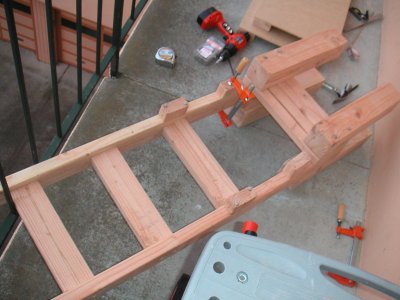
This is the state of the project as of May 16, 2004. All the basic woodwork is done, but it's not yet completely put together. I can't recall exactly, but I think I started work on this two or three weekends before this.
June 2, 2004
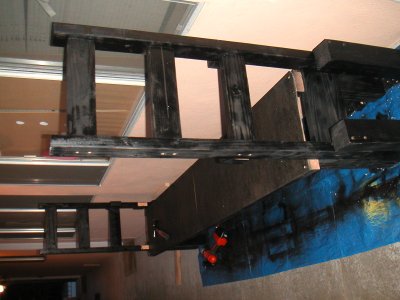
This was the first time that I have ever spray painted anything. It was not pleasant. If I did this over again, I'd probably just use normal paint so that I wouldn't have to wait so long in between coats of paint. That would also eliminate the need to suit up every time I wanted to paint. Furthermore, it's really windy out there, so I needed to spray paint only in the evenings because it tends to be less windy at night.
June 13, 2004
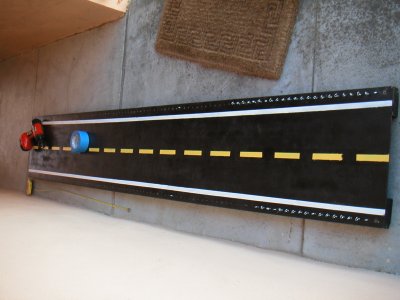
See the eyescrews along each side of the bridge? Those took forever to put in. (This picture was taken before all of the eyescrews were put in.) I had to drill 192 one sixteenth inch pilot holes first. I broke 4 bits along the way. (Before this, I couldn't figure out why I would ever need more than one of any size drill bit. Now I know that the thin ones snap like twigs.) I then had to screw 192 eyescrews into those holes. I did this in four or five 30 minute chunks over the course of two days until it was done.

Notice the garbage bags. I hadn't noticed, but spray painting the middle part was sending clouds of paint onto the ends. So, I had to repaint the ends and then cover absolutely everything up before continuing to paint.
June 15, 2004

Everything is finally assembled and painted. The waves were just glued to the sides of the water, so the tape is there to keep them in place while the glue dried.
June 18, 2004
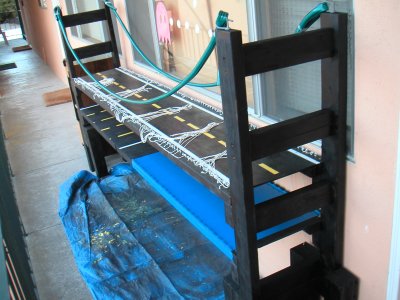
Tie tie tie, all day long. The only thing more fun than installing 192 eyescrews is cutting 192 strings to length and then tying those 192 strings to the 192 eyescrews.
June 19, 2004
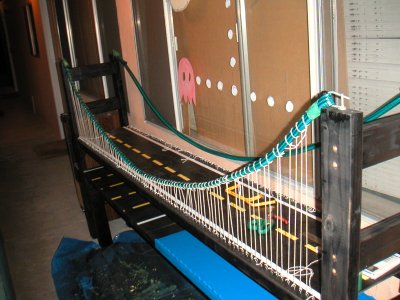
The tying is half done. I used a saw to make lateral cuts in the hose (192 cuts of course) and then tied the strings through those cuts so they would stay in place.
June 20, 2004
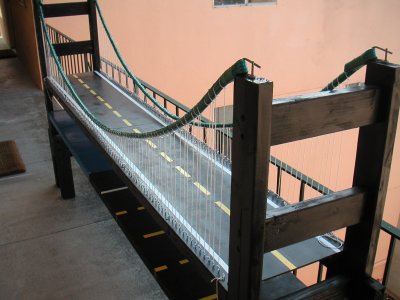
All done! Hooray! Now I just need to haul it into work so it can serve as the cubicle decoration that it was destined to be.
June 26, 2004
The following pictures are of me and my family installing the bridge at work above my cubicle. The bridge comes apart into four pieces (the two middle pieces and the two ends). My neighbor was nice enough to let me use his truck. My family was visiting this week, so I took advantage of the available labor and had them help me bring it in.
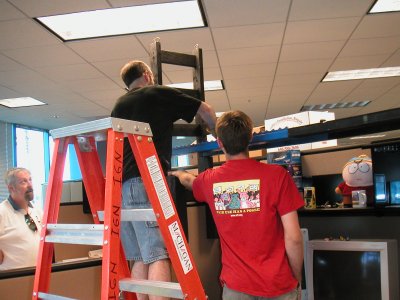
After we put up the ends, my mom suggested that we build it on the ground and then put it up all at once. But, it was more fun this way, so I climbed all over the desks putting things together in situ.

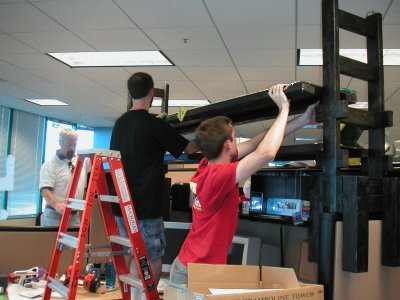
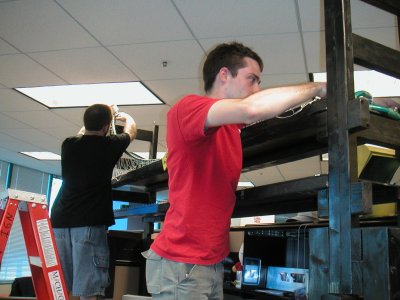
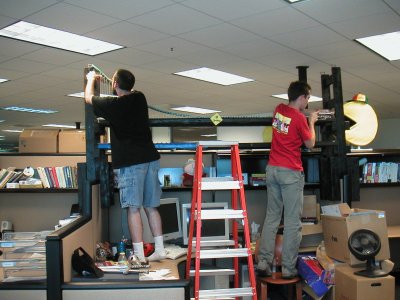
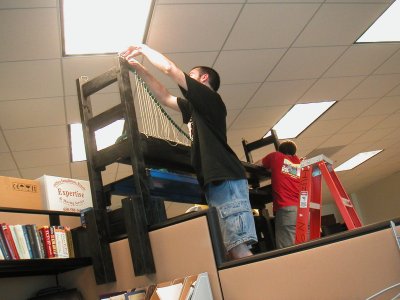
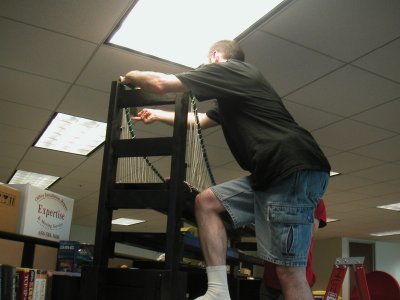
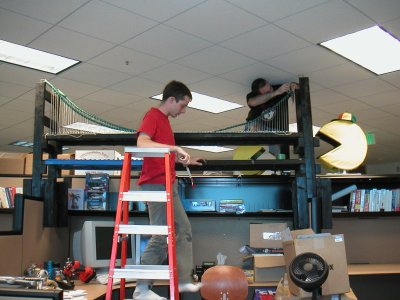
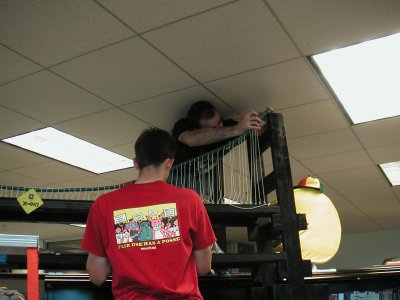
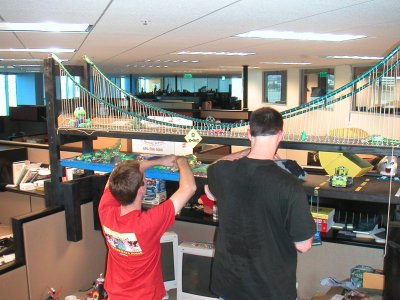
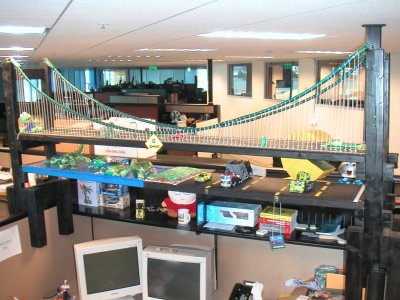
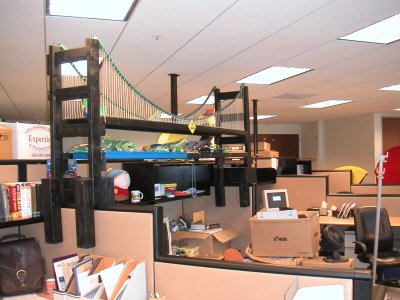

Hooray! I'm so happy that it's here! Doesn't my cubicle look so much nicer with a Frogger Bridge over the top of it? Absolutely!
The engineering area at work is turning into a video game art museum. Check out my other projects to see what else I have set up here.
All in all, it took roughly two weekends to do the woodwork and then another 6 weeks painting (plus two days of drilling and tying things 192 times) before it was finished. Of course, most of that 6 weeks was drying time. It's windy where I live, so I can only spraypaint when it's nearly dark out (because it's usually less windy at night). If I were to do it all over again, I probably wouldn't use spraypaint. Normal painting can be done at any time regardless of the wind. Spraypainting can only be done when it's calm out. It also requires suiting up in a paint suit and mask before I can do anything.
So, my next project is going to be painted with a brush. Originally, I thought it might be neat to have the bridge run all over the office, but I ended up deciding that there are plenty of projects I can work on, so there's no reason to spend the next year working on just one. *smile* Do you like my bridge? If you do, let me know!
 In Frogger, you control the frog and try to move it across 5 lanes of road traffic and then 5 lanes of water traffic. Sadly, your frog will die again and again. Sometimes you will be run over by cars and other times you will drown in the water or be eaten by alligators.
Well, I said that enough was enough. I decided to build a bridge over all that stuff so that frogs could cross from one side to the other without fear.
May 16, 2004

This is the state of the project as of May 16, 2004. All the basic woodwork is done, but it's not yet completely put together. I can't recall exactly, but I think I started work on this two or three weekends before this.
June 2, 2004

This was the first time that I have ever spray painted anything. It was not pleasant. If I did this over again, I'd probably just use normal paint so that I wouldn't have to wait so long in between coats of paint. That would also eliminate the need to suit up every time I wanted to paint. Furthermore, it's really windy out there, so I needed to spray paint only in the evenings because it tends to be less windy at night.
June 13, 2004

See the eyescrews along each side of the bridge? Those took forever to put in. (This picture was taken before all of the eyescrews were put in.) I had to drill 192 one sixteenth inch pilot holes first. I broke 4 bits along the way. (Before this, I couldn't figure out why I would ever need more than one of any size drill bit. Now I know that the thin ones snap like twigs.) I then had to screw 192 eyescrews into those holes. I did this in four or five 30 minute chunks over the course of two days until it was done.

Notice the garbage bags. I hadn't noticed, but spray painting the middle part was sending clouds of paint onto the ends. So, I had to repaint the ends and then cover absolutely everything up before continuing to paint.
June 15, 2004

Everything is finally assembled and painted. The waves were just glued to the sides of the water, so the tape is there to keep them in place while the glue dried.
June 18, 2004

Tie tie tie, all day long. The only thing more fun than installing 192 eyescrews is cutting 192 strings to length and then tying those 192 strings to the 192 eyescrews.
June 19, 2004

The tying is half done. I used a saw to make lateral cuts in the hose (192 cuts of course) and then tied the strings through those cuts so they would stay in place.
June 20, 2004

All done! Hooray! Now I just need to haul it into work so it can serve as the cubicle decoration that it was destined to be.
June 26, 2004
The following pictures are of me and my family installing the bridge at work above my cubicle. The bridge comes apart into four pieces (the two middle pieces and the two ends). My neighbor was nice enough to let me use his truck. My family was visiting this week, so I took advantage of the available labor and had them help me bring it in.

After we put up the ends, my mom suggested that we build it on the ground and then put it up all at once. But, it was more fun this way, so I climbed all over the desks putting things together in situ.


Hooray! I'm so happy that it's here! Doesn't my cubicle look so much nicer with a Frogger Bridge over the top of it? Absolutely!
The engineering area at work is turning into a video game art museum. Check out my other projects to see what else I have set up here.
All in all, it took roughly two weekends to do the woodwork and then another 6 weeks painting (plus two days of drilling and tying things 192 times) before it was finished. Of course, most of that 6 weeks was drying time. It's windy where I live, so I can only spraypaint when it's nearly dark out (because it's usually less windy at night). If I were to do it all over again, I probably wouldn't use spraypaint. Normal painting can be done at any time regardless of the wind. Spraypainting can only be done when it's calm out. It also requires suiting up in a paint suit and mask before I can do anything.
So, my next project is going to be painted with a brush. Originally, I thought it might be neat to have the bridge run all over the office, but I ended up deciding that there are plenty of projects I can work on, so there's no reason to spend the next year working on just one. *smile* Do you like my bridge? If you do, let me know!
Version 9.1 last modified by Geoff Fortytwo on 11/07/2010 at 17:06
Document data
Attachments:
No attachments for this document
