Q*Bert costume plans
Q*Bert costume construction pictures
Q*Bert costume Halloween 2006 pictures
You can find out more about my Q*Bert costume at Q*Bert costume.
Here are pictures of the construction process of making Q*Bert.
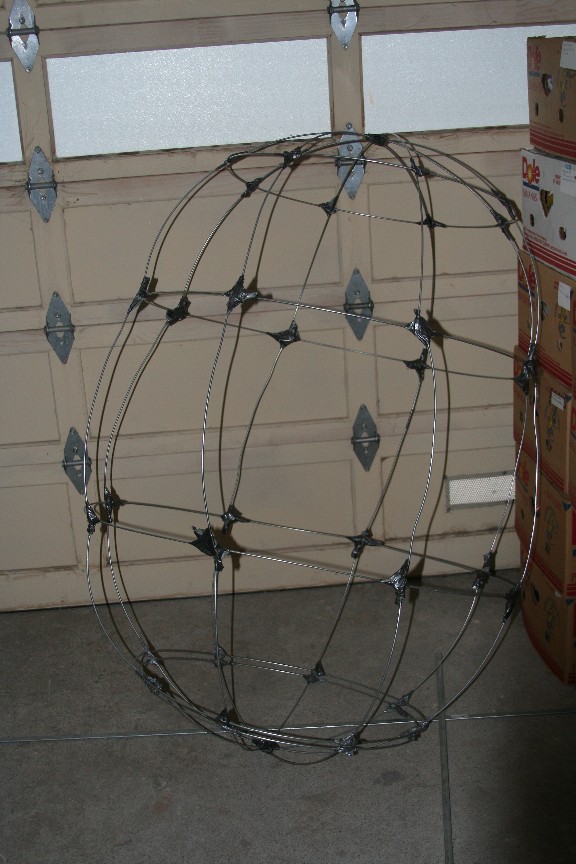
This was my first attempt at a frame. As it turned out, this was too big, so I had to make another one. That one turned out to be too big as well, so I had to make a third one. The third one was perfect.
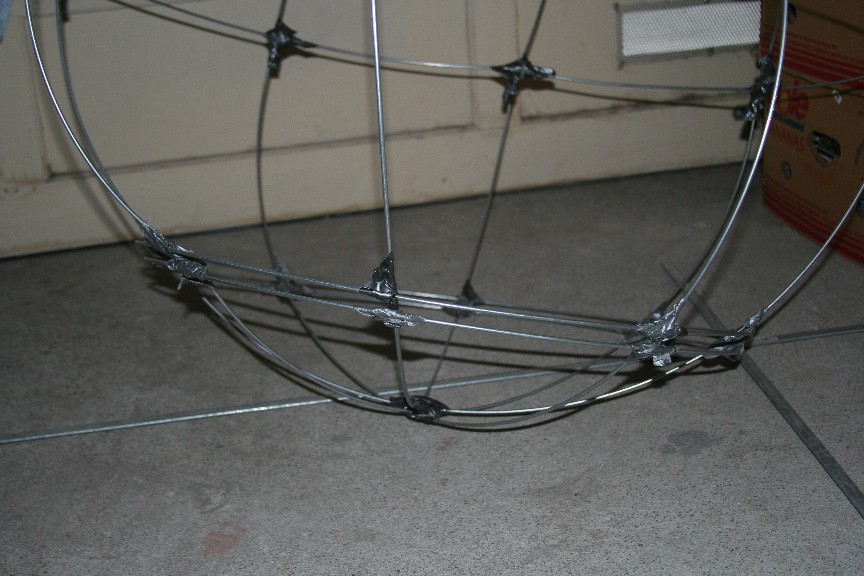
This is the bottom of the frame where I'd be entering. I just clipped between the two circles and I had a hatch cover. I had originally intended to make holes and close the hatch behind me, but I ended up deciding it would be impossible to jump around if I did that.
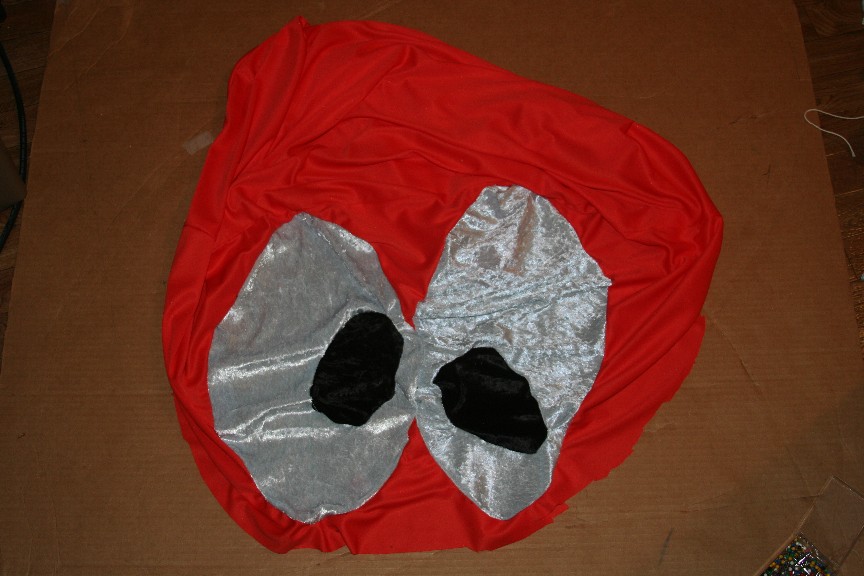
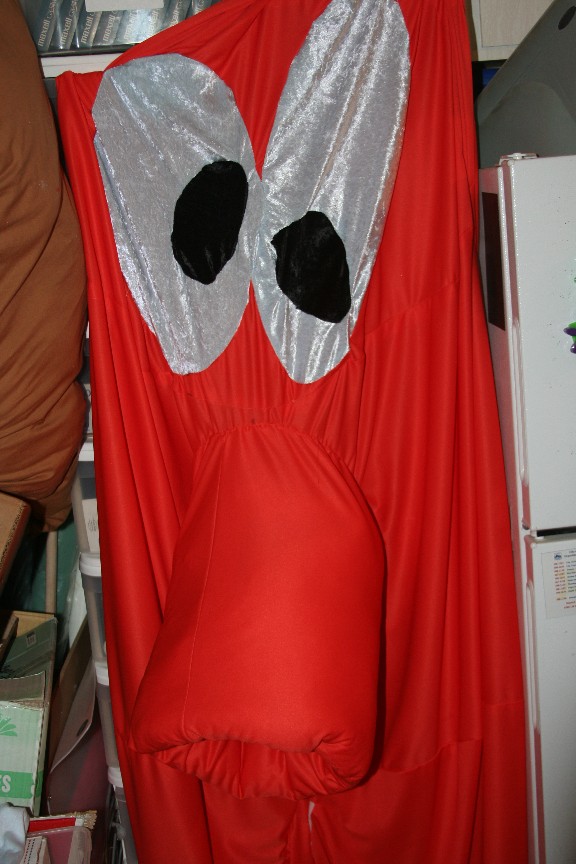
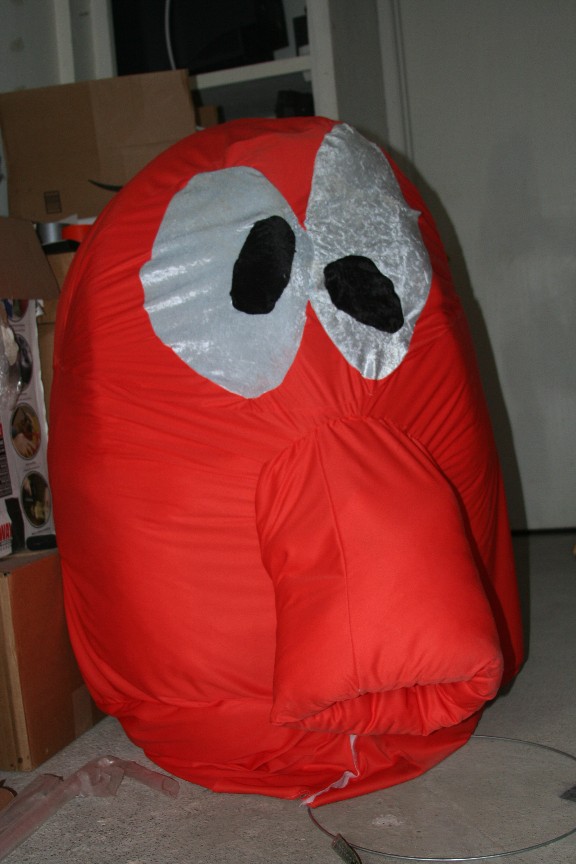
The skin has grown eyes.
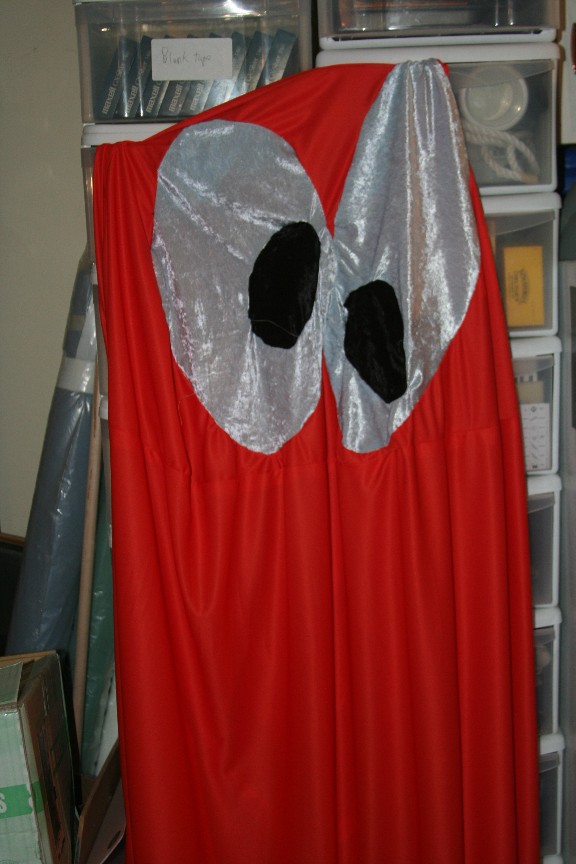
The skin is complete except for the nose.
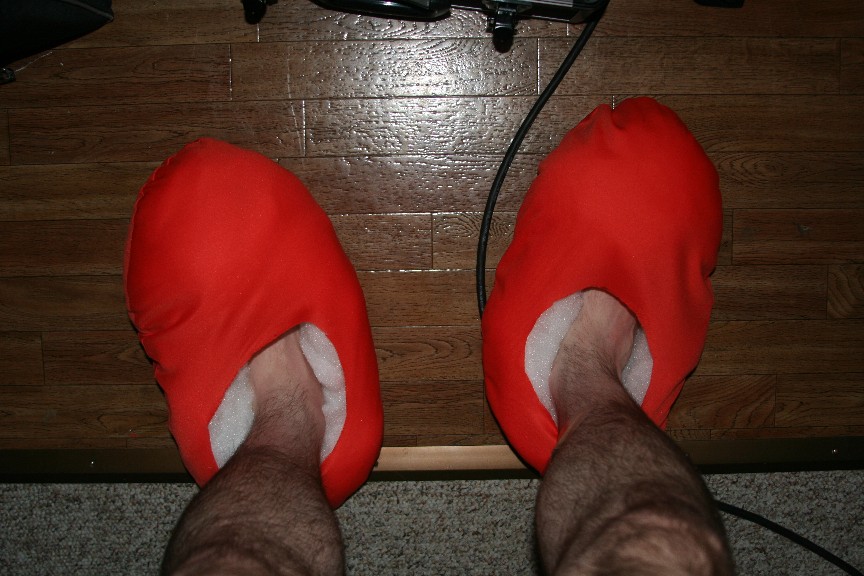
These are the booties.
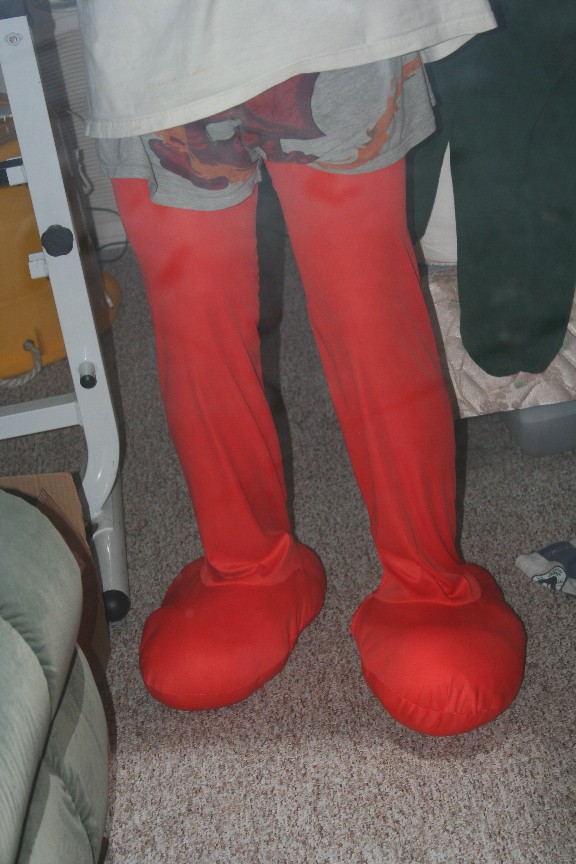
The feet have grown legs!
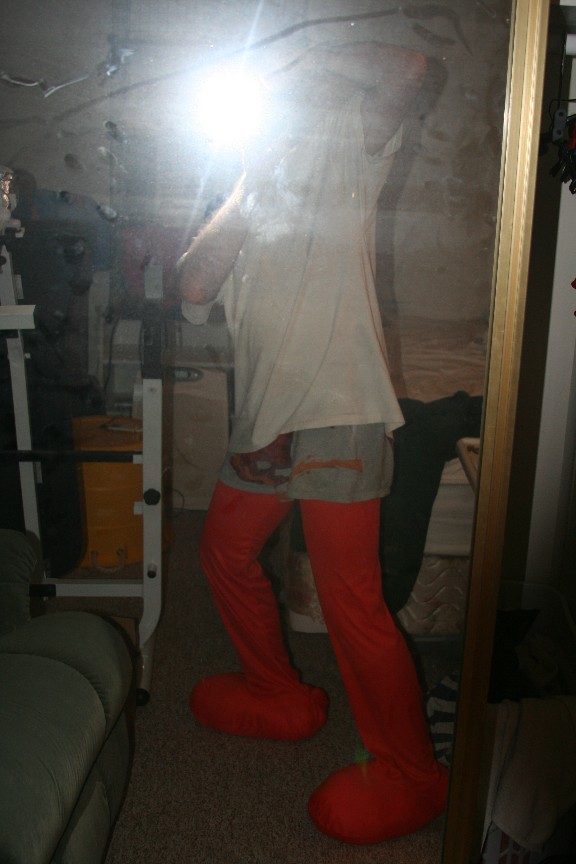
Leg action shot.
The skin is all done! I'm pretty happy with it.
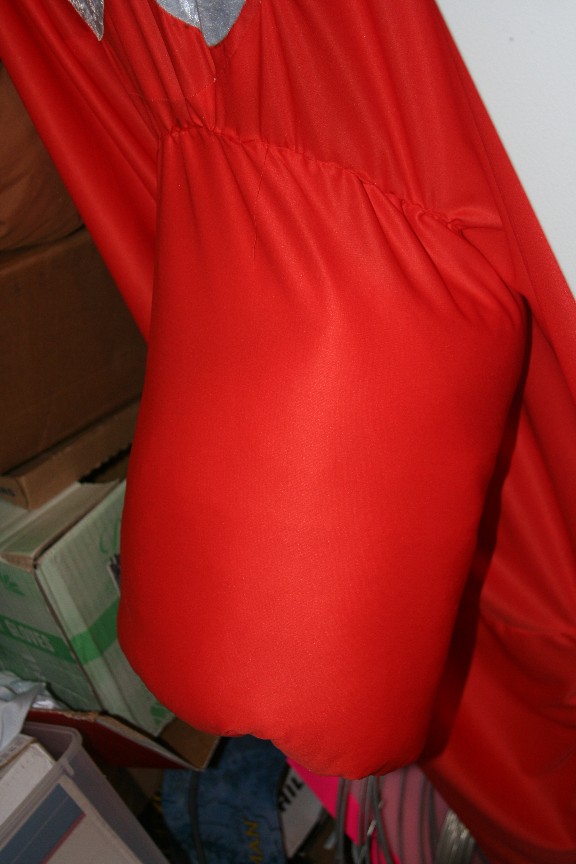
I really like the nose. I was worried when I constructed the costume and wasn't certain if I should put wire in to hold the nose out straight or if the nose should look more like a trumpet. I ended up just trying out the unsupported stuffed tube and loved it so much that I went with it.
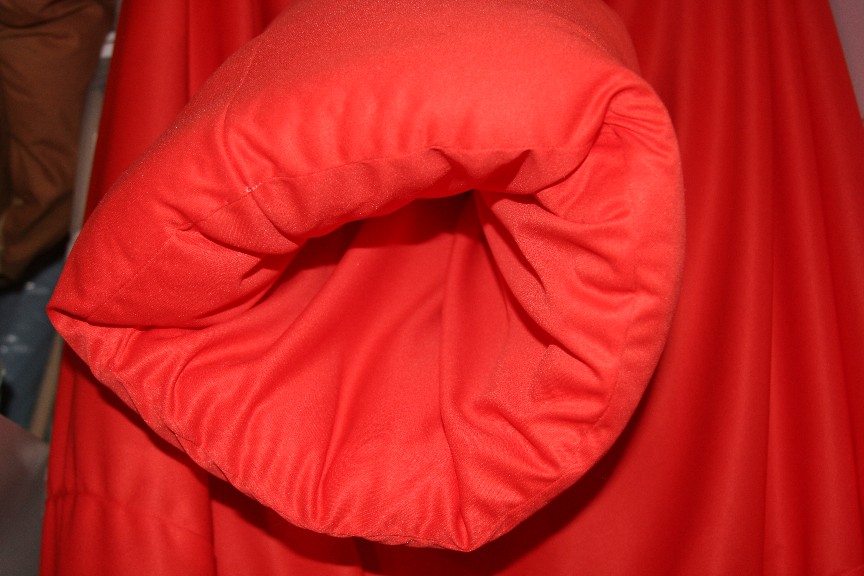
Q*Bert has a very clean nose. No nasty mucus in there!
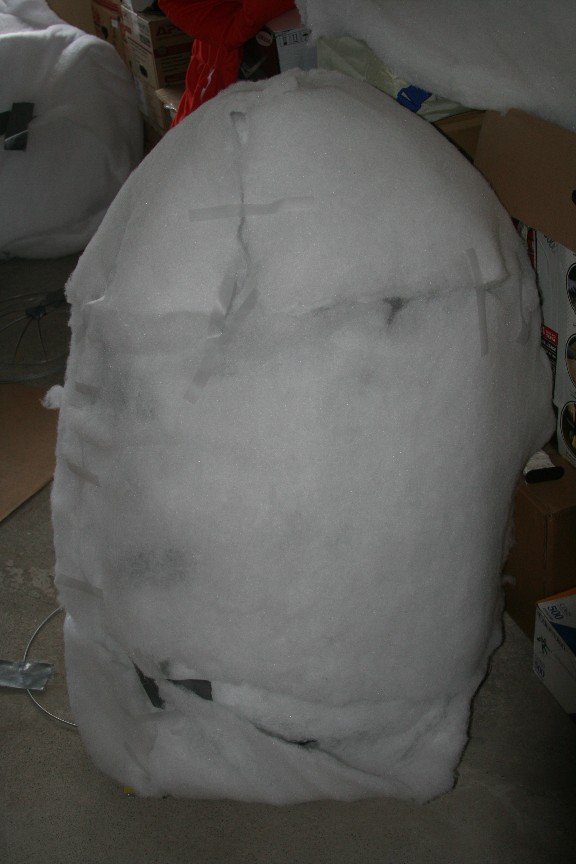
I've now got the frame done (3rd time's a charm) I've covered the frame with padding. To do that I had to actually slice the padding up into orange slice shapes just like I did when making the the hemispheres for the top and bottom of the costume. Initially I just tried to wrap it around the costume, but it bunched up too much.
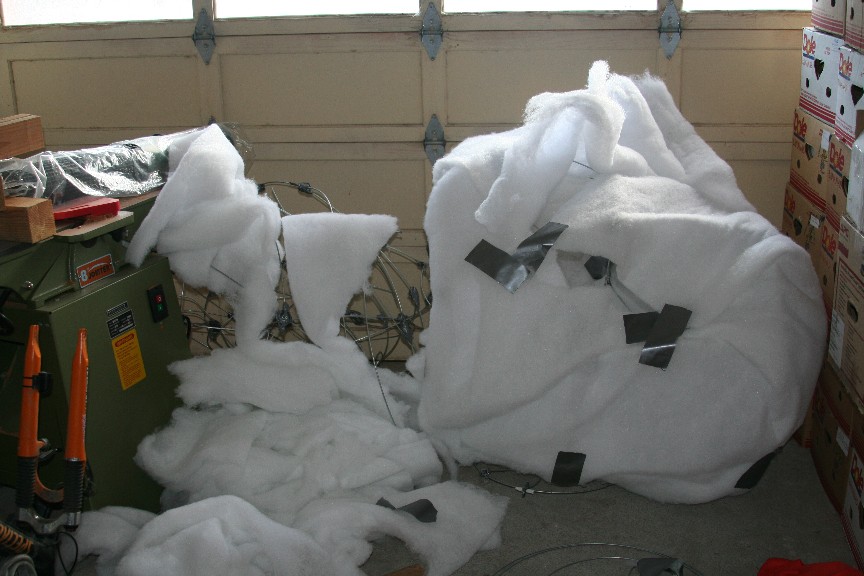
Here's the mess of discarded frame wire and padding from previous attempts.

Q*Bert is complete! Actually, it's still too wrinkly, but my fabulous girlfriend Suzanna was kind enough to help me out. She stood on the inside of the costume and stuffed parts as I directed until it was wrinkle free. I don't have a picture of the super stuffed Q*Bert on this page though.
Q*Bert face to face.
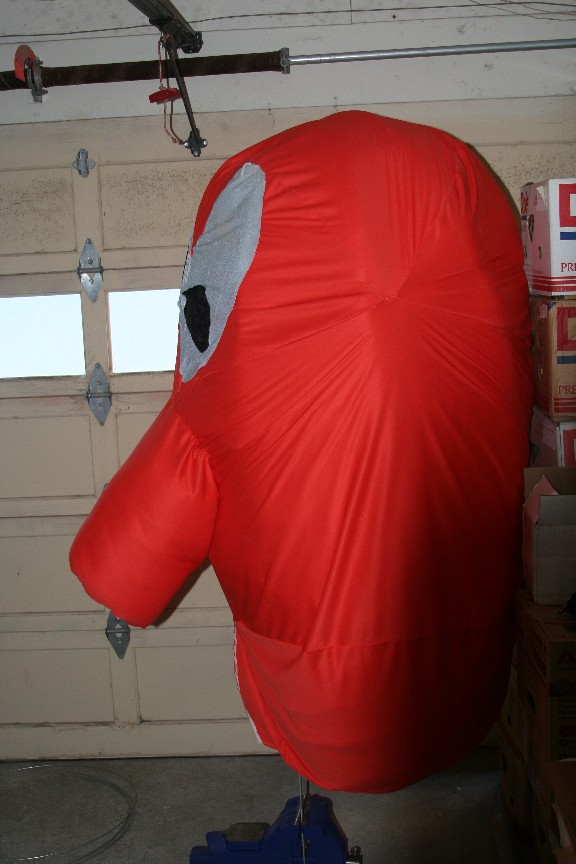
Q*Bert profile while hung up. I put a long metal pole into a vice and put a hemisphere of wire on the top of it to create a makeshift stand for Q*Bert so I could go in and out of it easily while I stitched up and stuffed it to make it look just right.
You can continue your Q*Bert adventure at Q*Bert Halloween Pictures. Q*Bert costume plans
Q*Bert costume construction pictures
Q*Bert costume Halloween 2006 pictures
Q*Bert costume construction pictures
Q*Bert costume Halloween 2006 pictures
You can find out more about my Q*Bert costume at Q*Bert costume.
Here are pictures of the construction process of making Q*Bert.
This was my first attempt at a frame. As it turned out, this was too big, so I had to make another one. That one turned out to be too big as well, so I had to make a third one. The third one was perfect.
This is the bottom of the frame where I'd be entering. I just clipped between the two circles and I had a hatch cover. I had originally intended to make holes and close the hatch behind me, but I ended up deciding it would be impossible to jump around if I did that.
The skin has grown eyes.
The skin is complete except for the nose.
These are the booties.
The feet have grown legs!
Leg action shot.
The skin is all done! I'm pretty happy with it.
I really like the nose. I was worried when I constructed the costume and wasn't certain if I should put wire in to hold the nose out straight or if the nose should look more like a trumpet. I ended up just trying out the unsupported stuffed tube and loved it so much that I went with it.
Q*Bert has a very clean nose. No nasty mucus in there!
I've now got the frame done (3rd time's a charm) I've covered the frame with padding. To do that I had to actually slice the padding up into orange slice shapes just like I did when making the the hemispheres for the top and bottom of the costume. Initially I just tried to wrap it around the costume, but it bunched up too much.
Here's the mess of discarded frame wire and padding from previous attempts.
Q*Bert is complete! Actually, it's still too wrinkly, but my fabulous girlfriend Suzanna was kind enough to help me out. She stood on the inside of the costume and stuffed parts as I directed until it was wrinkle free. I don't have a picture of the super stuffed Q*Bert on this page though.
Q*Bert face to face.
Q*Bert profile while hung up. I put a long metal pole into a vice and put a hemisphere of wire on the top of it to create a makeshift stand for Q*Bert so I could go in and out of it easily while I stitched up and stuffed it to make it look just right.
You can continue your Q*Bert adventure at Q*Bert Halloween Pictures. Q*Bert costume plans
Q*Bert costume construction pictures
Q*Bert costume Halloween 2006 pictures
Version 8.1 last modified by Geoff Fortytwo on 25/10/2015 at 20:32
Document data
Attachments:
No attachments for this document