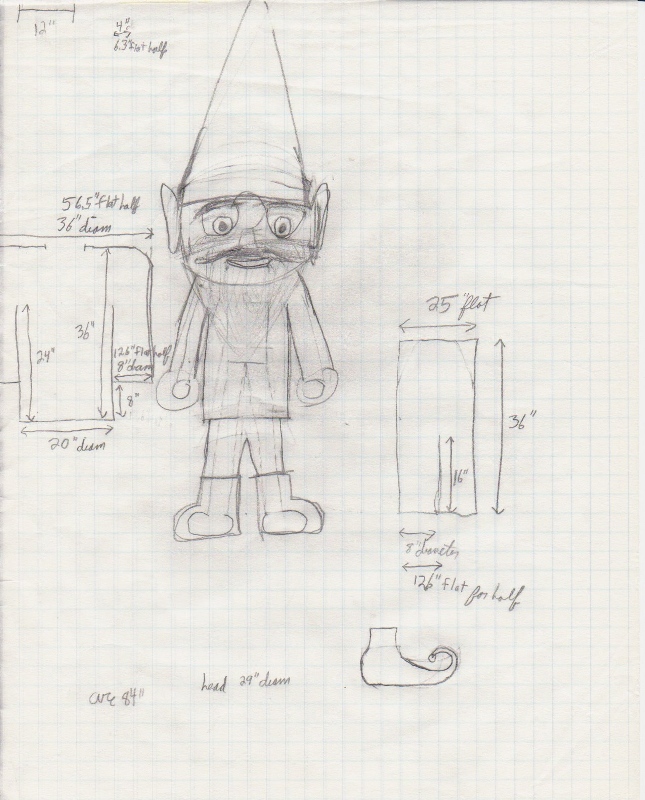
 The first step is to draw myself to scale and then draw the costume around myself. At this stage you can see the big hat and beard. I hadn't yet thought of the curly shoes when I first drew the figure. But, lower down you can see where I sketched the curly shoes in later.
I wish I had made the pants a little longer so that I could have tucked the top into my belt. As it was I just stuck with using suspenders.
The first step is to draw myself to scale and then draw the costume around myself. At this stage you can see the big hat and beard. I hadn't yet thought of the curly shoes when I first drew the figure. But, lower down you can see where I sketched the curly shoes in later.
I wish I had made the pants a little longer so that I could have tucked the top into my belt. As it was I just stuck with using suspenders.
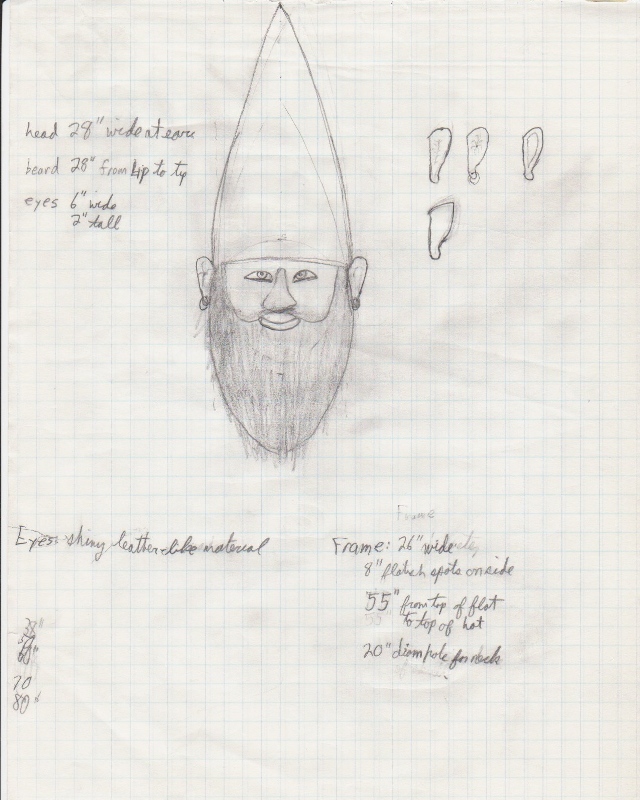 This was my attempt to make the head look good. I settled on a good length for the hat and beard, figured out how to do the mouth (with one lip) and made a decent attempt at the nose. I had earrings in this picture, but I totally forgot about them until I looked back at this picture again when making this site.
I also tried out various ear shapes and ended up using the 4th one (the one with a pointy tip).
This was my attempt to make the head look good. I settled on a good length for the hat and beard, figured out how to do the mouth (with one lip) and made a decent attempt at the nose. I had earrings in this picture, but I totally forgot about them until I looked back at this picture again when making this site.
I also tried out various ear shapes and ended up using the 4th one (the one with a pointy tip).
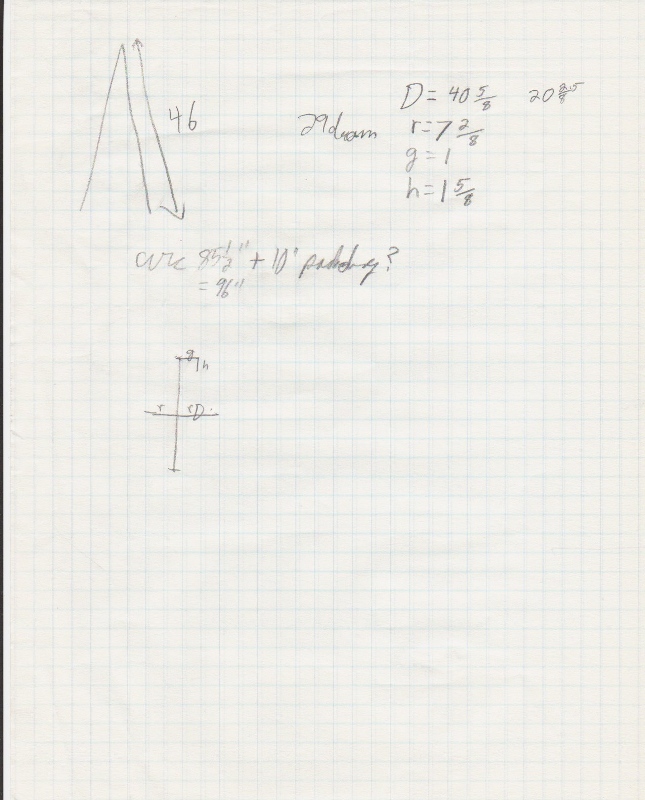 I tried to mathematically figure out how to lay out the hat flat, but I ended up just doing it by hand. I hung the fabric around the metal gnome frame and pinned and cut the fabric to the right size then sewed it up on the sewing machine.
In the upper right you can see the sphere numbers that I used to make the dome for the bottom part of the gnome head. If you want to know how to do that, check out my page on how to sew a sphere.
I tried to mathematically figure out how to lay out the hat flat, but I ended up just doing it by hand. I hung the fabric around the metal gnome frame and pinned and cut the fabric to the right size then sewed it up on the sewing machine.
In the upper right you can see the sphere numbers that I used to make the dome for the bottom part of the gnome head. If you want to know how to do that, check out my page on how to sew a sphere.
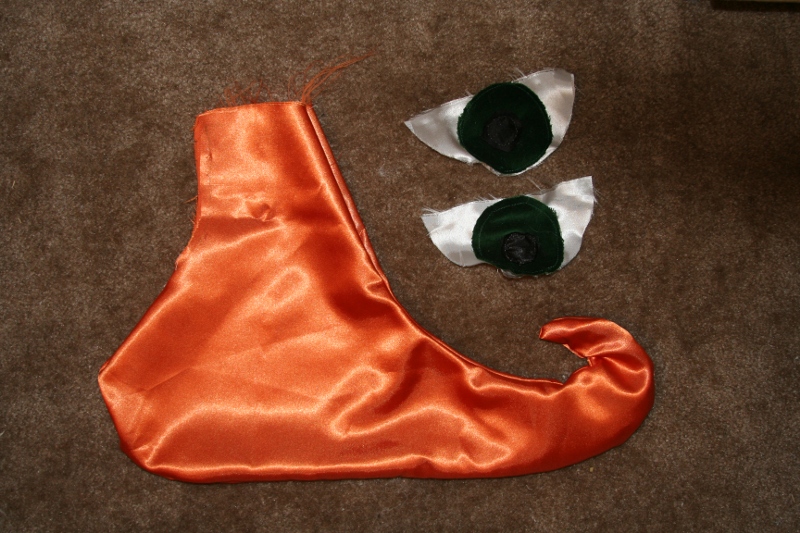 These were mistakes. The top of this shoe was too small (my foot didn't fit). The eyes just look angry.
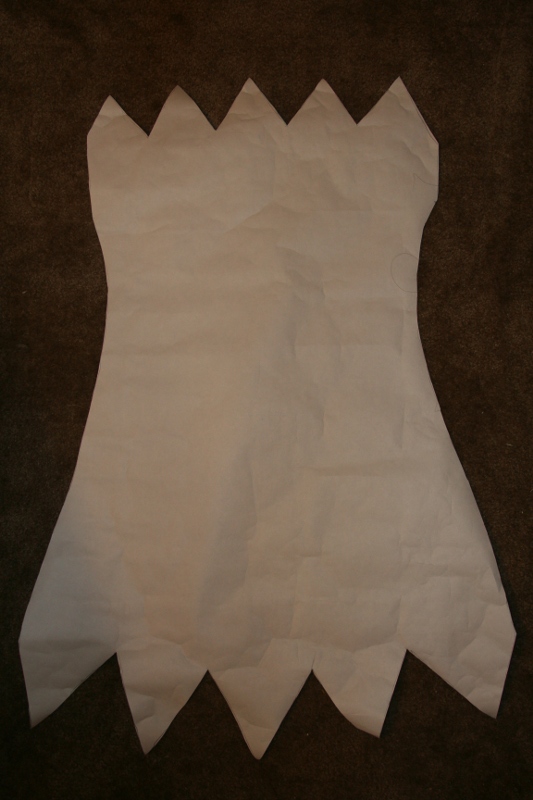 This is the template for the pixie dress that I made for Emily. The original was green and Emily wanted one that matched my costume, so I made an orange one using the same fabric I used for the gnome hat.
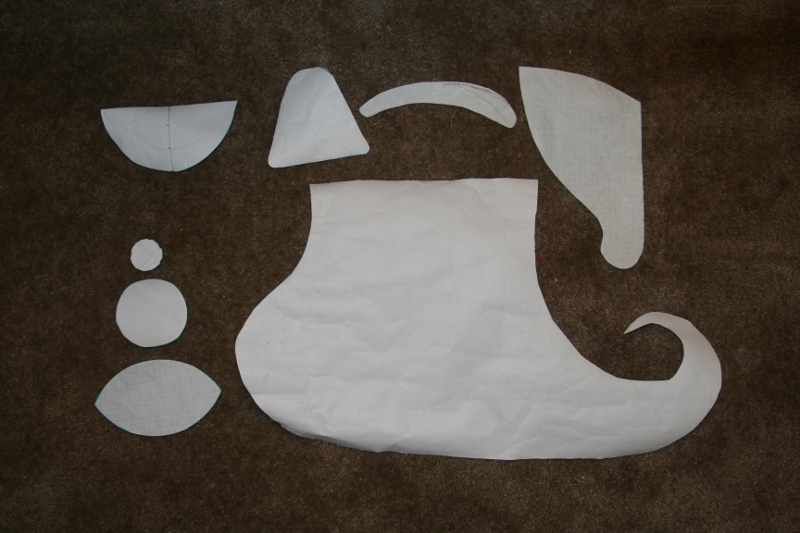 In the upper left is the original template for the angry eye that I ended up not using. In the lower left from top to bottom are the templates for the pupil, the iris, and the almond eye. In the lower right is the template for the shoes and above the shoe from left to right are the templates for the back of the nose, the eyebrows, and the ears.
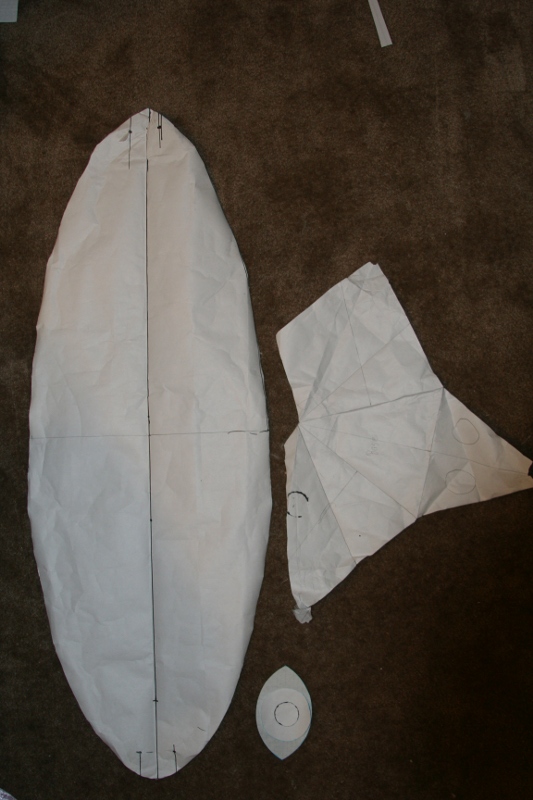 On the left is the template for the orange peal. I cut out three of those, cut them in half, and sewed those 6 parts together to make the dome at the bottom of the head.
On the right is my first attempt at making a nose shape. It didn't really work out. It was far too big and it's very difficult to fold paper into a sort of pyramid shape with the point tilted down so that it looks like a nose.
At the bottom you see the 3 eye parts stacked one on top of each other.
On the left is the template for the orange peal. I cut out three of those, cut them in half, and sewed those 6 parts together to make the dome at the bottom of the head.
On the right is my first attempt at making a nose shape. It didn't really work out. It was far too big and it's very difficult to fold paper into a sort of pyramid shape with the point tilted down so that it looks like a nose.
At the bottom you see the 3 eye parts stacked one on top of each other.
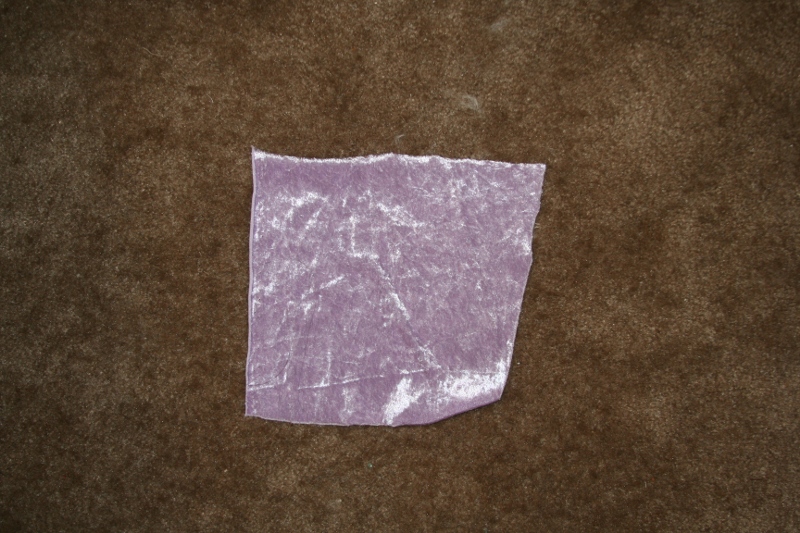 This bit of fabric is what I originally wanted to use for the back of the mouth. But, Emily didn't like it, so I went with a different fabric which is a little darker than the skin color of the gnome.
main gnome page
designing the gnome costume
building the gnome costume
wearing the gnome costume at iPass
wearing the gnome costume around town
Version 6.1 last modified by Geoff Fortytwo on 05/11/2009 at 01:10
Document data
Attachments:
No attachments for this document